You can run the DL Workbench by building a Docker* image locally. Refer to the section with the instruction for your operating system:
- Install DL Workbench from Docker Hub* on Linux* OS
- Install DL Workbench from Docker Hub* on Windows* OS
- Install DL Workbench from Docker Hub* on macOS*
For details about parameters, see Parameter Explanation.
Install DL Workbench on Linux* OS
Install Docker* CE on Linux OS
To install Docker CE for Linux, follow the steps described in Get Docker Engine - Community for Ubuntu.
Run Docker Container on Linux OS
NOTE: The following sections contain instructions on running the DL Workbench with the dedicated script. To use
docker runinstead, see Run Docker Container withdocker runCommand.
NOTE: If you are behind corporate proxies, set them as described in Set Proxy.
To start or update the DL Workbench, run the starting script with a single-line command or manually. Two sections below describe the both options.
IMPORTANT: To download the script using the command line, you must have GNU Wget or cURL installed.
Single-Line Start
Choose one of the options:
- Single-line command with GNU Wget: wget https://raw.githubusercontent.com/openvinotoolkit/workbench_aux/master/start_workbench.sh && bash start_workbench.sh
- Single-line command with cURL: curl -o start_workbench.sh https://raw.githubusercontent.com/openvinotoolkit/workbench_aux/master/start_workbench.sh && bash start_workbench.sh
NOTE: Execution of any of the above commands starts the DL Workbench in the interactive mode with CPU support only. Go to the List of All Arguments for other options.
Step-by-Step Start
- Choose one of the options to download the script:
- Download with GNU Wget: wget https://raw.githubusercontent.com/openvinotoolkit/workbench_aux/master/start_workbench.sh
- Download with cURL: curl -o start_workbench.sh https://raw.githubusercontent.com/openvinotoolkit/workbench_aux/master/start_workbench.sh
- Download with GNU Wget:
- Open a terminal in the directory with the downloaded script and run the following command to make the file executable: chmod +x start_workbench.sh
- Run the Docker container with the highest available version of the DL Workbench with the following command: ./start_workbench.sh -IMAGE_NAME openvino/workbench
NOTE: To see the list of available arguments in a terminal, run the following command:
./start_workbench.sh --help
List of All Arguments
| Argument | Explanation | Default Value |
|---|---|---|
--help | Displays help message and exits the script. | N/A |
-IMAGE_NAME | Specifies the DL Workbench Docker image name. Use openvino/workbench to get the highest version. | openvino/workbench |
-TAG | Specifies the DL Workbench Docker image tag name. Use it if you need a lower version of the DL Workbench. | latest |
-IP | Specifies the IP on which to set up the DL Workbench. | 0.0.0.0 |
-PORT | Maps the Docker container port 5665 to the provided host port to get access to the DL Workbench from a web browser. | 5665 |
-DETACHED | Boolean. Enables the detached mode of the Docker container. | false |
-CONTAINER_NAME | Specifies the container name to use. | workbench |
-ENABLE_GPU | Boolean. Adds a host device to the container. Enables the container to use GPU devices in the DL Workbench. | false |
-ENABLE_MYRIAD | Boolean. Mounts directory /dev/bus/usb to the Docker container and adds the rule with allowed devices list to the cgroup. Enables the container to use Intel® Neural Compute Stick 2 devices in the DL Workbench. Cannot be used when running with Vision Accelerator Design with Intel® Movidius™ VPUs. | false |
-ENABLE_HDDL | Boolean. Adds a host device to the container and mounts directory /var/tmp to the Docker container. Enables the container to use Vision Accelerator Design with Intel® Movidius™ VPUs in the DL Workbench. Cannot be used when running with Intel® Neural Compute Stick 2. | false |
-DO_NOT_SAVE_TOKEN | Boolean. Disables token saving in the configuration directory. | false |
-HTTP_PROXY | Specifies the HTTP proxy in the format http://<user>:<password>@<proxy-host>:<proxy-port>. | N/A |
-HTTPS_PROXY | Specifies the HTTPS proxy in the format https://<user>:<password>@<proxy-host>:<proxy-port>. | N/A |
-NO_PROXY | Specifies the URLs that should be excluded from proxying in the format url1,url2,url3. | N/A |
-ASSETS_DIR | Mounts a provided local folder to the /home/openvino/.workbench directory in the Docker container. | N/A |
-SSL_CERT | Specifies the path to the DL Workbench web app TLS certificate in the DL Workbench configuration directory. | N/A |
-SSL_KEY | Specifies the path to the SSL_CERT certificate private key in the DL Workbench configuration directory. | N/A |
-SSL_VERIFY | Indicates whether the SSL_CERT TLS certificate is trusted (on), or either self-signed or untrusted (off). | on |
NOTE:
ASSETS_DIRshould have read, write, and execute permissions set for all users. See Troubleshooting for details.
NOTE:
-ENABLE_MYRIADand-ENABLE_HDDLcannot be set simultaneously because Intel® Neural Compute Stick 2 and Intel® Vision Accelerator Design with Intel® Movidius™ VPUs are incompatible and cannot be used in the DL Workbench together.
NOTE: For more information about
SSL_CERT, SSL_KEY, and SSL_VERIFY, see configuring TLS in Docker container.
The parameter set depends on the targets you have on your machine. Choose the combination that suits you and provide appropriate arguments in the starting script:
- CPU
- CPU and Intel® Processor Graphics (GPU)
- CPU and Intel® Neural Compute Stick 2
- CPU and Intel® Vision Accelerator Design with Intel® Movidius™ VPUs
- CPU, GPU, and Intel® Neural Compute Stick 2
- CPU, GPU, and Intel® Vision Accelerator Design with Intel® Movidius™ VPUs
NOTE: To enable Intel® Vision Accelerator Design with Intel® Movidius™ VPUs in the DL Workbench, install the OpenVINO™ toolkit for Linux* first.
Run Docker Container on CPU
Choose the container mode that works best for you and run the corresponding commands:
- Interactive mode – a Docker container allows interactive processes in the DL Workbench terminal: Once the http://127.0.0.1:5665 link followed by a generated token appears in the console log, open it in your browser. See Enter DL Workbench for details../start_workbench.sh -IMAGE_NAME openvino/workbench
TIP: To stop a container in the interactive mode, press Ctrl + C.
- Detached mode – a Docker container runs as a background process and does not receive input or display output:
Wait for the DL Workbench to set up for about a minute. Once it is done, open the http://127.0.0.1:5665 link and enter a token generated in the ~/.workbench folder. See Enter DL Workbench for details.
NOTE: To change the directory where the token is saved, replace
~/.workbenchwith another directory.
TIP: To stop a container in this mode, run the
docker stop workbenchcommand. To monitor logs in the detached mode, rundocker logs workbench.
Run Docker Container on CPU and GPU
Choose the container mode that works best for you and run the corresponding commands:
- Detached mode – a Docker container runs as a background process and does not receive input or display output: Wait for the DL Workbench to set up for about a minute. Once it is done, open the http://127.0.0.1:5665 link and enter a token generated in the./start_workbench.sh -IMAGE_NAME openvino/workbench -ENABLE_GPU -DETACHED -ASSETS_DIR ~/.workbench
~/.workbenchfolder. See Enter DL Workbench for details.
NOTE: To change the directory where the token is saved, replace
~/.workbenchwith another directory.
TIP: To stop a container in this mode, run the
docker stop workbenchcommand. To monitor logs in the detached mode, rundocker logs workbench.
- Interactive mode – a Docker container allows interactive processes in the DL Workbench terminal: Once the http://127.0.0.1:5665 link followed by a generated token appears in the console log, open it in your browser. See Enter DL Workbench for details../start_workbench.sh -IMAGE_NAME openvino/workbench -ENABLE_GPU
TIP: To stop a container in the interactive mode, press Ctrl + C.
Run Docker Container on CPU and Intel® Neural Compute Stick 2
Choose the container mode that works best for you and run the corresponding commands:
- Interactive mode – a Docker container allows interactive processes in the DL Workbench terminal: Once a link appears in the console log, point your browser to http://127.0.0.1:5665../start_workbench.sh -IMAGE_NAME openvino/workbench -ENABLE_MYRIAD
TIP: To stop a container in the interactive mode, press Ctrl + C.
- Detached mode – a Docker container runs as a background process and does not receive input or display output: Wait for the DL Workbench to set up for about a minute. Once it is done, open the http://127.0.0.1:5665 link and enter a token generated in the./start_workbench.sh -IMAGE_NAME openvino/workbench -ENABLE_MYRIAD -DETACHED -ASSETS_DIR ~/.workbench
~/.workbenchfolder. See Enter DL Workbench for details.
NOTE: To change the directory where the token is saved, replace
~/.workbenchwith another directory.
TIP: To stop a container in this mode, run the
docker stop workbenchcommand. To monitor logs in the detached mode, rundocker logs workbench.
Run Docker Container on CPU and Intel® Vision Accelerator Design with Intel® Movidius™ VPUs
Step 1: Install OpenVINO™ Package
Download the Intel® Distribution of OpenVINO™ toolkit for Linux* OS from the download page (registration required).
Follow the instructions to Install the Intel® Distribution of OpenVINO™ toolkit for Linux*.
NOTE: Do not remove the archive you used to install the OpenVINO™ toolkit package, because the archive is required for running the DL Workbench.
Step 2: Set Up Dependencies for Intel® Vision Accelerator Design with Intel® Movidius™ VPUs
Set up the environment on the host machine. It is required to execute hddldaemon, which is responsible for communication between the HDDL plugin and the board. To set up the environment, follow the Configuration Guide for Intel® Vision Accelerator Design with Intel® Movidius™ VPUs.
Step 3: Run hddldaemon
In the terminal, run hddldaemon on the host machine with the following command:
Step 4: Run Docker Container
Choose the container mode that works best for you and run the corresponding commands in a separate terminal session:
- Interactive mode – a Docker container allows interactive processes in the DL Workbench terminal: Once a link appears in the console log, point your browser to http://127.0.0.1:5665../start_workbench.sh -IMAGE_NAME openvino/workbench -ENABLE_HDDL
TIP: To stop a container in the interactive mode, press Ctrl + C.
- Detached mode – a Docker container runs as a background process and does not receive input or display output: Wait for the DL Workbench to set up for about a minute. Once it is done, open the http://127.0.0.1:5665 link and enter a token generated in the./start_workbench.sh -IMAGE_NAME openvino/workbench -ENABLE_HDDL -DETACHED -ASSETS_DIR ~/.workbench
~/.workbenchfolder. See Enter DL Workbench for details.
NOTE: To change the directory where the token is saved, replace
~/.workbenchwith another directory.
TIP: To stop a container in this mode, run the
docker stop workbenchcommand. To monitor logs in the detached mode, rundocker logs workbench.
Run Docker Container on CPU, GPU, and Intel® Neural Compute Stick 2
Choose the container mode that works best for you and run the corresponding commands:
- Interactive mode – a Docker container allows interactive processes in the DL Workbench terminal: Once a link appears in the console log, point your browser to http://127.0.0.1:5665../start_workbench.sh -IMAGE_NAME openvino/workbench -ENABLE_GPU -ENABLE_MYRIAD
TIP: To stop a container in the interactive mode, press Ctrl + C.
- Detached mode – a Docker container runs as a background process and does not receive input or display output: Wait for the DL Workbench to set up for about a minute. Once it is done, open the http://127.0.0.1:5665 link and enter a token generated in the./start_workbench.sh -IMAGE_NAME openvino/workbench -ENABLE_GPU -ENABLE_MYRIAD -DETACHED -ASSETS_DIR ~/.workbench
~/.workbenchfolder. See Enter DL Workbench for details.
NOTE: To change the directory where the token is saved, replace
~/.workbenchwith another directory.
TIP: To stop a container in this mode, run the
docker stop workbenchcommand. To monitor logs in the detached mode, rundocker logs workbench.
Run Docker Container on CPU, GPU, and Intel® Vision Accelerator Design with Intel® Movidius™ VPUs
Step 1: Install OpenVINO™ Package
Download the Intel® Distribution of OpenVINO™ toolkit for Linux* OS from the download page (registration required).
Follow the instructions to Install the Intel® Distribution of OpenVINO™ toolkit for Linux*.
NOTE: Do not remove the archive you used to install the OpenVINO™ toolkit package, because the archive is required for running the DL Workbench.
Step 2: Set Up Dependencies for Intel® Vision Accelerator Design with Intel® Movidius™ VPUs
Set up the environment on the host machine. It is required to execute hddldaemon, which is responsible for communication between the HDDL plugin and the board. To set up the environment, follow the Configuration Guide for Intel® Vision Accelerator Design with Intel® Movidius™ VPUs.
Step 3: Run hddldaemon
In the terminal, run hddldaemon on the host machine with the following command:
Step 4: Run Docker Container
Choose the container mode that works best for you and run the corresponding commands in a separate terminal session:
- Interactive mode – a Docker container allows interactive processes in the DL Workbench terminal: Once a link appears in the console log, point your browser to http://127.0.0.1:5665../start_workbench.sh -IMAGE_NAME openvino/workbench -ENABLE_GPU -ENABLE_HDDL
TIP: To stop a container in the interactive mode, press Ctrl + C.
- Detached mode – a Docker container runs as a background process and does not receive input or display output: Wait for the DL Workbench to set up for about a minute. Once it is done, open the http://127.0.0.1:5665 link and enter a token generated in the./start_workbench.sh -IMAGE_NAME openvino/workbench -ENABLE_GPU -ENABLE_HDDL -DETACHED -ASSETS_DIR ~/.workbench
~/.workbenchfolder. See Enter DL Workbench for details.
NOTE: To change the directory where the token is saved, replace
~/.workbenchwith another directory.
TIP: To stop a container in this mode, run the
docker stop workbenchcommand. To monitor logs in the detached mode, rundocker logs workbench.
You have successfully installed the OpenVINO™ DL Workbench. Move on to Work with Models and Sample Datasets.
Run Docker Container with docker run Command
You can also run the DL Workbench docker container with the docker run command.
Below is the basic command that starts a Docker container with CPU support:
For more options, like enabling other devices or changing container settings, refer to Parameters Table or use the script.
Set Proxy: Linux OS (Optional)
If you are behind a corporate proxy, set it by running the following commands:
- Create a directory with a configurations file: mkdir -p /etc/systemd/system/docker.service.dtouch /etc/systemd/system/docker.service.d/http_proxy.conf
- Write the data about proxy and DNS settings on your machine to the
http_proxy.conffile. The contents of the file should look like this:NOTE: Replace the placeholders in the angle brackets with your proxy values.
[Service]Environment="HTTP_PROXY=<http-proxy>" "HTTPS_PROXY=<https-proxy>" "NO_PROXY=<no-proxy>" - Let the system reread configuration and restart the Docker* container: systemctl daemon-reloadsystemctl restart docker
For details on customizing Docker settings, see Control Docker with systemd or contact your system administrator.
Then run the Docker container with additional proxy parameters:
NOTE: Replace
<no-proxy>,<http-proxy>, and<https-proxy>with your proxy values.
For details on other parameters used in the command, see the previous section.
Install DL Workbench on Windows* OS
Install Docker Desktop*
To install Docker Desktop for Windows OS, follow the steps described in the Install Docker Desktop on Windows (registration required). When the installation is complete, start Docker Desktop.
Run Docker Container on Windows OS
NOTE: For this step, Docker Desktop must be running.
Choose the container mode that works best for you and run the corresponding commands in Windows PowerShell*:
NOTE: If you are behind corporate proxies, set them as described in Set Proxy.
- Interactive mode – a Docker container allows interactive processes in the DL Workbench terminal:
Once a link appears in the console log, point your browser to http://127.0.0.1:5665.docker run -p 127.0.0.1:5665:5665 ` --name workbench ` -it openvino/workbench:latest
TIP: To stop a container in the interactive mode, press Ctrl + C.
- Detached mode - a Docker container runs in the background of your terminal and does not receive input or display output: mkdir C:\workbench
Wait for the DL Workbench to set up for about a minute. Once it is done, open the http://127.0.0.1:5665 link and enter a token generated in thedocker run -p 127.0.0.1:5665:5665 ` --name workbench ` --volume /C/workbench:/home/openvino/.workbench ` -d openvino/workbench:latestC:\workbenchfolder. See Enter DL Workbench for details.
TIP: To stop a container in this mode, run the
docker stop workbenchcommand. To monitor logs in the detached mode, rundocker logs workbench.
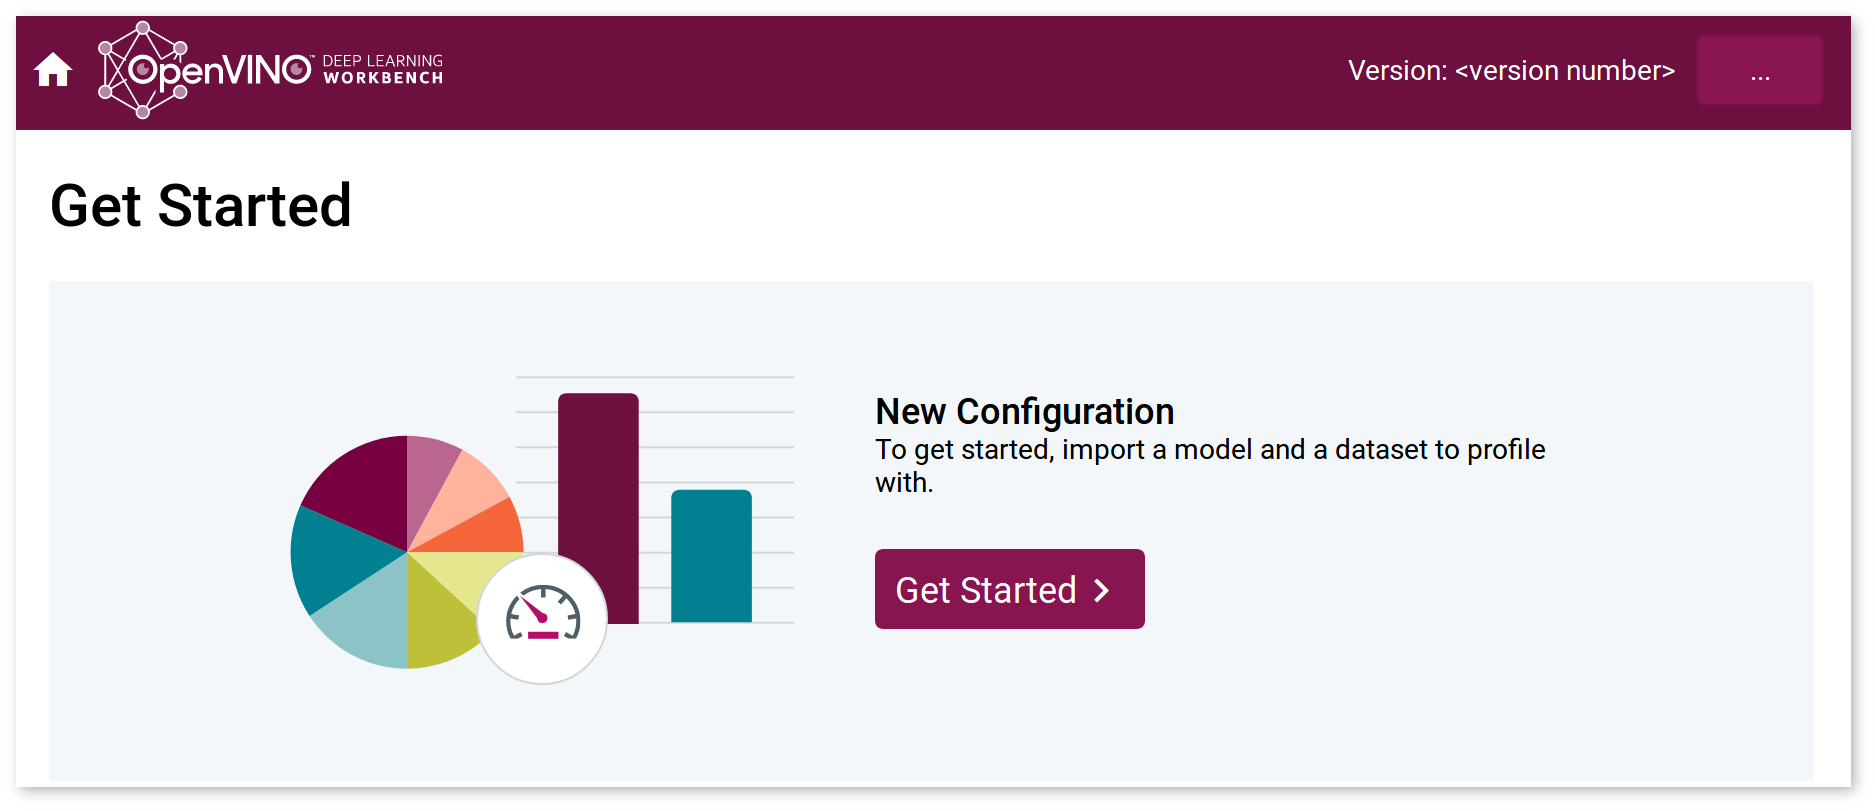
When you open http://127.0.0.1:5665 in your browser, the DL Workbench Get Started page appears:
You have successfully installed the OpenVINO™ DL Workbench. Move on to Work with Models and Sample Datasets.
Set Proxy: Windows OS (Optional)
If you are behind a corporate proxy, you can set it in the Docker Desktop settings and in Windows PowerShell*.
To set proxy in the settings, right click on Docker Desktop in the taskbar items, select Configure proxy, and follow the scheme below:
Settings >> Proxies >> Select Manual proxy configuration >> Add your http-proxy to both Web Server and Secure Web Server >> Apply settings
Settings >> Proxies >> Add your no-proxy to Bypass for these hosts ... >> Apply settings

Now set proxy in Windows PowerShell by passing the following arguments:
NOTE: Double quotes are required for these arguments.
Then run the Docker container with additional proxy parameters: > NOTE: Replace <no-proxy>, <http-proxy>, and <https-proxy> with your proxy values.
docker run -p 127.0.0.1:5665:5665 `
                --name workbench `
                -e no_proxy=<no-proxy> `
                -e http_proxy=<http-proxy> `
                -e https_proxy=<https-proxy> `
                -it openvino/workbench:latest
For details on other parameters used in the command, see the previous section.
Install DL Workbench from Docker Hub* on macOS*
Install Docker CE on macOS
To install Docker Desktop for macOS, follow the steps described in the Install Docker Desktop on Mac (registration required). When the installation is complete, start Docker Desktop.
Run Docker Container on macOS
Choose the container mode that works best for you and run the corresponding commands in a terminal:
NOTE: If you are behind corporate proxies, set them as described in Set Proxy.
- Interactive mode – a Docker container allows interactive processes in the DL Workbench terminal: Once a link appears in the console log, point your browser to http://127.0.0.1:5665.docker run -p 127.0.0.1:5665:5665 \--name workbench \-it openvino/workbench:latest
TIP: To stop a container in this mode, press Ctrl + C.
- Detached mode - a Docker container runs in the background of your terminal and does not receive input or display output: mkdir -p ~/.workbenchWait for the DL Workbench to set up for about a minute. Once it is done, open the http://127.0.0.1:5665 link and enter a token generated in thedocker run -p 127.0.0.1:5665:5665 \--name workbench \--volume ~/.workbench:/home/openvino/.workbench-d openvino/workbench:latest
~/.workbenchfolder. See Enter DL Workbench for details.
TIP: To stop a container in this mode, run the
docker stop workbenchcommand. To monitor logs in the detached mode, rundocker logs workbench.
When you open http://127.0.0.1:5665 in your browser, the DL Workbench Get Started page appears:
You have successfully installed the OpenVINO™ DL Workbench. Move on to Work with Models and Sample Datasets.
Set Proxy: macOS (Optional)
If you are behind a corporate proxy, follow the instructions from Configure Docker to use a proxy server, run the Docker container with additional proxy parameters:
NOTE: Replace
<no-proxy>,<http-proxy>, and<https-proxy>with your proxy values.
For details on other parameters used in the command, see the previous section.
Parameter Explanation
The command blocks above run Docker containers named workbench with the following arguments:
| Argument | Explanation |
|---|---|
-p 127.0.0.1:5665:5665 | Maps Docker container port 5665 to host port 5665 to get access to the DL Workbench from a web browser. |
--device /dev/dri | Add a host device to the container. Enables the container to use GPU devices in the DL Workbench. |
-v /dev/bus/usb:/dev/bus/usb | Mounts directory /dev/bus/usb to the Docker container. Enables the container to use Intel® Neural Compute Stick 2 devices in the DL Workbench. Cannot be used when running with Vision Accelerator Design with Intel® Movidius™ VPUs. |
--device-cgroup-rule='c 189:* rmw' | Adds the rule with allowed devices list to the cgroup. Enables the container to use Intel® Neural Compute Stick 2 devices in the DL Workbench. Cannot be used when running with Vision Accelerator Design with Intel® Movidius™ VPUs. |
--device /dev/ion:/dev/ion | Add a host device to the container. Enables the container to use Vision Accelerator Design with Intel® Movidius™ VPUs in the DL Workbench. Cannot be used when running with Intel® Neural Compute Stick 2. |
-v /var/tmp:/var/tmp | Mounts directory /var/tmp to the Docker container. Enables the container to use Vision Accelerator Design with Intel® Movidius™ VPUs devices in the DL Workbench. Cannot be used when running with Intel® Neural Compute Stick 2. |
-it | Enables the interactive mode of the Docker container. Set to the Docker image name workbench. |
-d | Enables the detached mode of the Docker container. Set to the Docker image name workbench. |
--volume ~/.workbench:/home/openvino/.workbench | Mounts a local folder named ~/.workbench to the /home/openvino/.workbench directory in the Docker* container |
-e https_proxy=<https-proxy>-e http_proxy=<http-proxy>-e no_proxy=<no-proxy> | Optional. If you are behind a corporate proxy, set environment variables. |